Monday, February 12, 2018

Cobblers Hammer


One of my hobbies is leather work and I have several leather work projects that I will be doing soon. One leather work tool that I have always wanted was a Cobblers Hammer, aside from looking really cool they are really useful for flattening stitching, folding over edges, wet forming, and many other things. 

I found several nice examples on e bay but they were very expensive. So I decided to buy a beat up one and refinish it. 

I was able to find this Sears and Roebuck, hammer for $12 on ebay. It needs a lot of cleaning up and a new handle. But I figured it would be a fun little project. 
 The face of the hammer had several deep gouges and a lot of marks on it. I would need to smooth it out otherwise it would mar my leather. 
After quite a bit of filing, grinding, sanding, and eventually polishing it was ready to be put back into use. 
Here is the cool old Sears and Roebuck label, I wonder when the Craftsman brand came into place. Think of that I wonder when you could buy a cobblers hammer from Sears? Certainly a different time from the one that we are living in! 
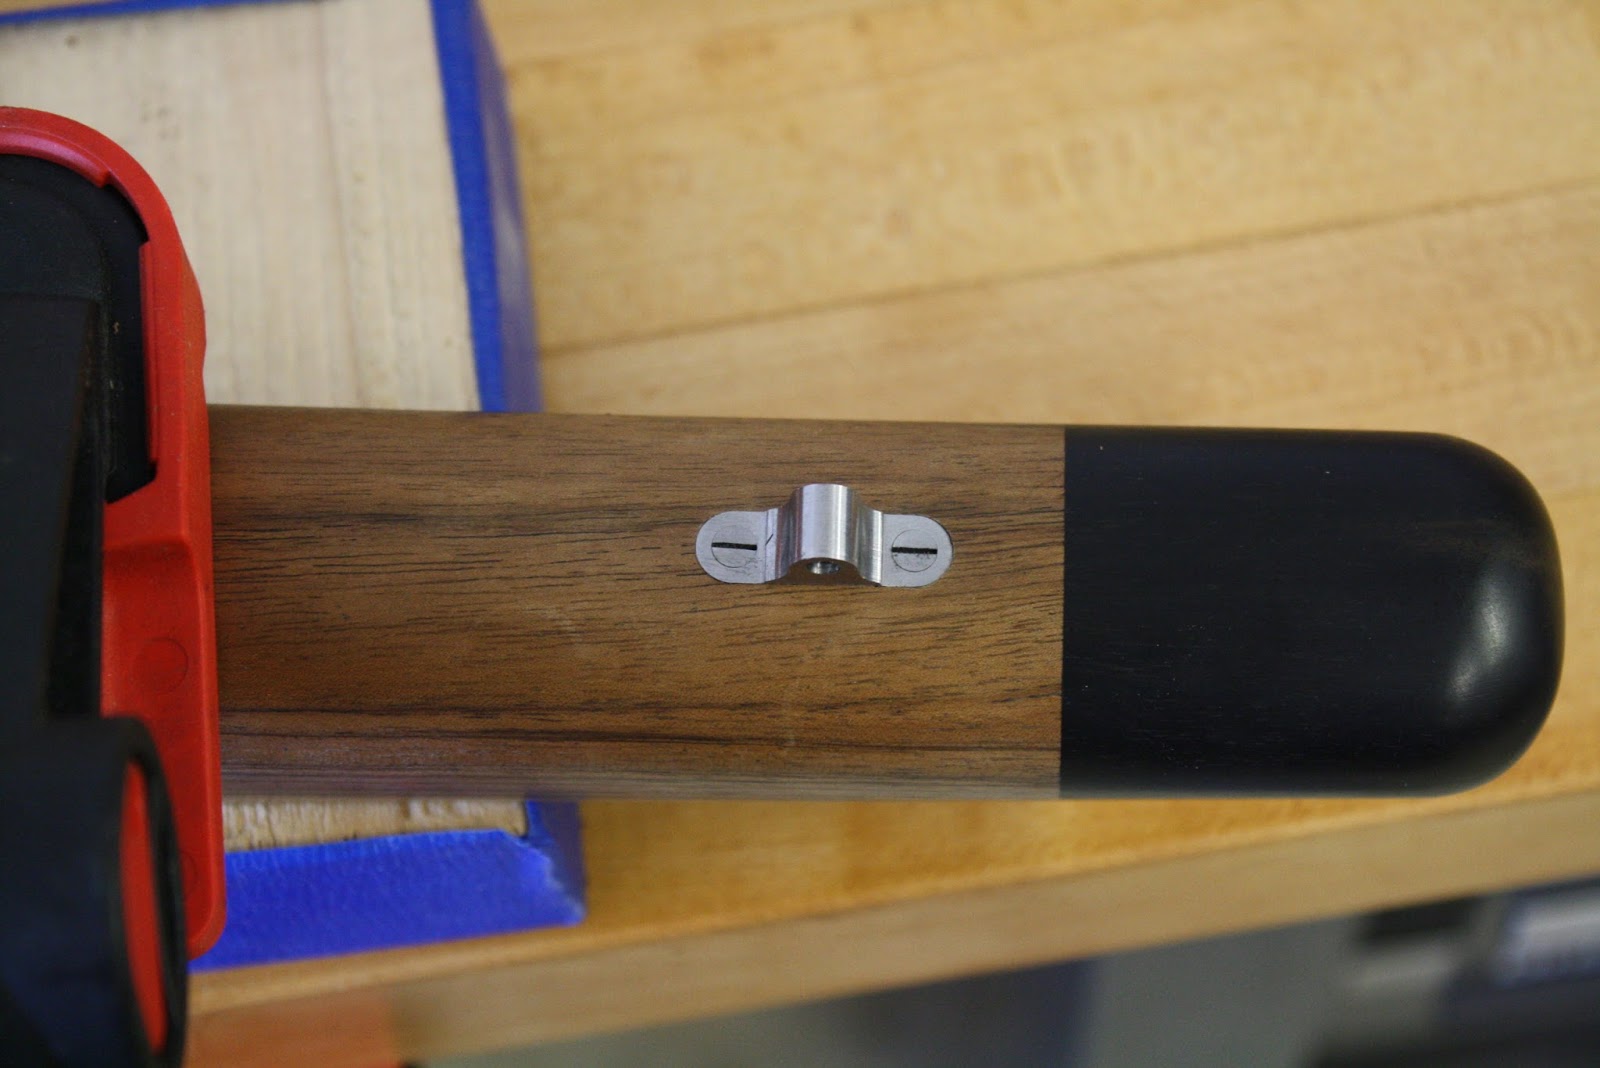
 Now on to the handle, this hammer has a very small eye. I was able to find a ball peen hammer handle that looked pretty good. The eye had to be reduced a little, I seated it very far down on the shoulder, and I decided to take about 1.5 inches off of the length. 

 Here I am installing the wedge.  
 The wedges installed and dressed down.
 A little sanding of the handle and a few coats of boiled linseed oil and this hammer is ready to be put back into service. 
I tend to take really good care of my tools and like to have quality tools. For me I would rather invest a little time and effort into a tool like this than buy a cheap knock off from Amazon. I am sure that this hammer will outlast me. Heck I am sure it has already outlasted its previous owner. 

Friday, February 9, 2018

Shotgun Stock Refinishing

Beretta 686

My Beretta is a great gun. I really enjoy it, and like using it in the field. The one thing that I don't like is the very plain wood that came with the gun. So I decided to get some new wood for this gun.

 I bought this stock set off the internet. This is a high grade Beretta factory stock with an oil finish. I like the figure of the wood but and not really happy with the finish. The finish is very dull and the wood pores were not filled prior to finishing leaving them very open.
 I would like an oil finish a little closer to a London gun oil finish. So I decided to do a little refinishing on this stock set. 
 I wanted to start with rubbing down the existing finish and seeing how much work it would take. Here I am applying Rottenstone (a very fine abrasive) and some Linspeed Oil (Linseed Oil with dryers added). 

This should start filling in the grain and rub down the existing finish. 
 Here is what it looks like, the Rottenstone and Oil turns into a slurry on the wood as it is rubbed in. If you look at the left side of the stock you can see the open pores, on the right side you can see that the slurry is starting to fill the pores.  
Once the Rottenstone and Oil are rubbed in they are wiped off, and the stock is rubbed very vigorously with the palm of the hand. This heats up the thin layer of oil left on the stock and starts the curing process. The stock is then left for 24 hours and the process is repeated. This is a picture of the stock after about 4 applications, the grain is starting to fill in and the stock is starting to take on a satin luster. 
This type of finish is very time consuming but worth it in the end. 

Thursday, February 8, 2018

Knife Making

Knife Making

Well Knife Assembling anyway. I had a friend come over the other day and I noticed that he was wearing a fixed blade knife. This got me thinking about how practical it would be around the vineyard to have a fixed blade knife. I have always wanted to make a knife so I figured that this was an opportunity to give it a try. 

So I bought some components and decided I would give it a try to see if I would like it. 
 Here are my components, I decided to buy the blade pre-shaped. I just want to give this knife making thing a try and this seemed to be the easiest. I bought some zebra wood scales and found a nice mosaic pin to round it off. 
 First I sanded the surfaces of the scales to make sure they were flat. Then paired them up and marked out the outline of the blade where I wanted it. Then center punched one of the pin holes. 
 Here are the scales in the drill press getting the first hole drilled. 
Then I put a pin in the hole to insure that everything stayed in the same place and drilled the next hole. I repeated this for  the third hole as well. 
 After a good scuffing up I cleaned everything with acetone prior to bonding the parts together. 
 Everything was glued together with epoxy, clamped, and set aside to dry. 
Then I started shaping the scales. I could not resist sanding down the mosaic pins first. Here you can see the first mosaic pin sanded flush with the scale. 
Here is the knife after shaping. I went through a few iterations before I found a shape that felt good in my hands. This is what I finally decided on.
Here it is after a few coats of oil on the handles. Next I will have to make a leather sheath for it. I will add that to the blog when I have completed it.

This was a fun little project that did not require any specialized tools, I can see why people get into knife building. 

Tuesday, February 6, 2018

7mm-08 Project #20

7mm-08 Complete

I told myself that I would only post 20 posts about this project so here is the last one with a few pictures of the completed rifle in the vineyard. 


Monday, February 5, 2018

7mm-08 Project #19

Bluing Metal

I told myself that I would only do 20 blog posts on this project so I am going to start wrapping it up. 

Here are the parts back from bluing after a good polish. I prefer to hot blue I like the deep black color and I think that it is actually more durable. I know that is debatable but it is my opinion. 
 Here are all my metal parts after a good polish and hot blue. You can see that they are a nice deep black color! 
 Here is a trick that I like to do and the guy that does your blueing will really appreciate it because he will not have to fish small screws out of his hot blue tank. 

But the real reason I do it is so I know what screws go in what slot. So I make a steel plate that has threaded holes in it to accept all my screws then I stamp the holes so I know where the screws go. The plate can be reused several times(if you use the same type of screws) and makes life a lot easier!
 
 
Here are some pictures of the sling swivels and grip cap assembled. I think that they turned out really nice! 
In the next Blog post I will have pictures of the completed gun. 

Friday, February 2, 2018

7mm-08 Project #18

Timing Action Screws

I like to make sure that all of my screw heads run "north and south". Meaning that they are aligned running parallel with the barrel. I think that it is a nice touch on a custom rifle. 

This rifle was pillar bedded, meaning that there are aluminum pillars bonded in where the action screw go through the stock. This makes it really easy to have repeatable bedding using a torque wrench to tighten the action screws. It also means that the screws will return to the same place every time. 
 First I assemble the rifle and tighten the screws to the necessary torque. Then I take note of how far the screw head needs to rotate (Angle in degrees). Then I install a dial indicator and turn the screw the same amount in the oppisite direction (see the tape marks) and measure how far it moves. At this point I know how much material I need to remove to make the screw turn the correct angle to line up. Who says that math is useless! 
 Then the screw is taken to the lathe and the computed amount is removed from the underside of the screw. The screw is then deburred and polished. 
If done correctly you will end up with your screws lined up "north and south" 

Thursday, February 1, 2018

7mm-08 Project #17

Sling Swivels

In this post I will cover how I inlet Sling Swivels. 
 First, I make the brass threaded inserts that I will bond into the stock (I have covered it many times in other posts so I will not repeat it here) then I file down the screw heads and align them so that the screws are running "north and south".
 I mount the stock in a fixture that I built to hold the stock in place so that I can cut the recesses on the mill. Shims and Clamps are used to get it aligned and clamped in place. If something slipped at this point and damaged the stock I am not sure what I would do!
 Here is the mill cutter cutting the slot. 
A clean slot that has just been machined. 
 A test fit and it looks perfect. 

 Then on to the front slot. 
 Again a perfect fit. 

 The swivel then has the brass inserts screwed back on and the brass is bonded to the stock. After a little filing and sanding they look like this. Job done! 

Some consider this cheating because I am using machine tools instead of scrapers and chisels. I think of myself as a Gunbuilder (Hack Gunbuilder actually) not an artist. So I am completely fine using modern tools. I don't believe that it is better just because it is harder. But that is just my opinion.

I will admit that if I walked into Holland and Holland in London and they had automted everything I would be a little disappointed.